
When you are working on larger projects, it is good to write separate reusable code into a library. On iOS, CocoaPods is a great tool to handle app dependencies, and it also enables you to create your private library as a Cocoa Pod.
CocoaPods is a tool for adding open-source code to your project. Creating a private pod helps in publishing the set of classes or the framework that you built and is available for others to use in the private organisation.
Advantages of Pods over static library:
- Manually added dependency might not be easy to find for another programmer. Pods ensure that one can go through the pod’s scheme or Podfile to understand what you have used.
- Replacing a lib with a new version is a pain. When you have to delete previous files manually and add new ones – too many clicks. pod install will do it automatically using one command.
- Light Repo: Since it’s recommended, that you only commit your code and leave the pod to be fetched using pod install each time a new user pulls your code. Cocoapod makes your code folder light. If you ever need to make a change in any pod, it’s always recommended to make a PR request and update that so other users can benefit from your amazing work.
- Removing pod is easy.
Steps to create a Private pod:
- Install Cocoapods on Mac
- Create repository on Git
- Clone repository
- Create your private library
- Add functionality
- Check Podspec file
- Commit changes to Git
- Install pod in your project
Let’s check out these steps one by one:
1. Install Cocoapods on Mac
To install Cocoapods on your mac, open the terminal and type below command
$ sudo gem install cocoapods
2. Create a repository on Git
First of all, you need to create the private ‘Podspec’ repository. For this, you need to create a repository in Github (or any other platform) first.
To do so:
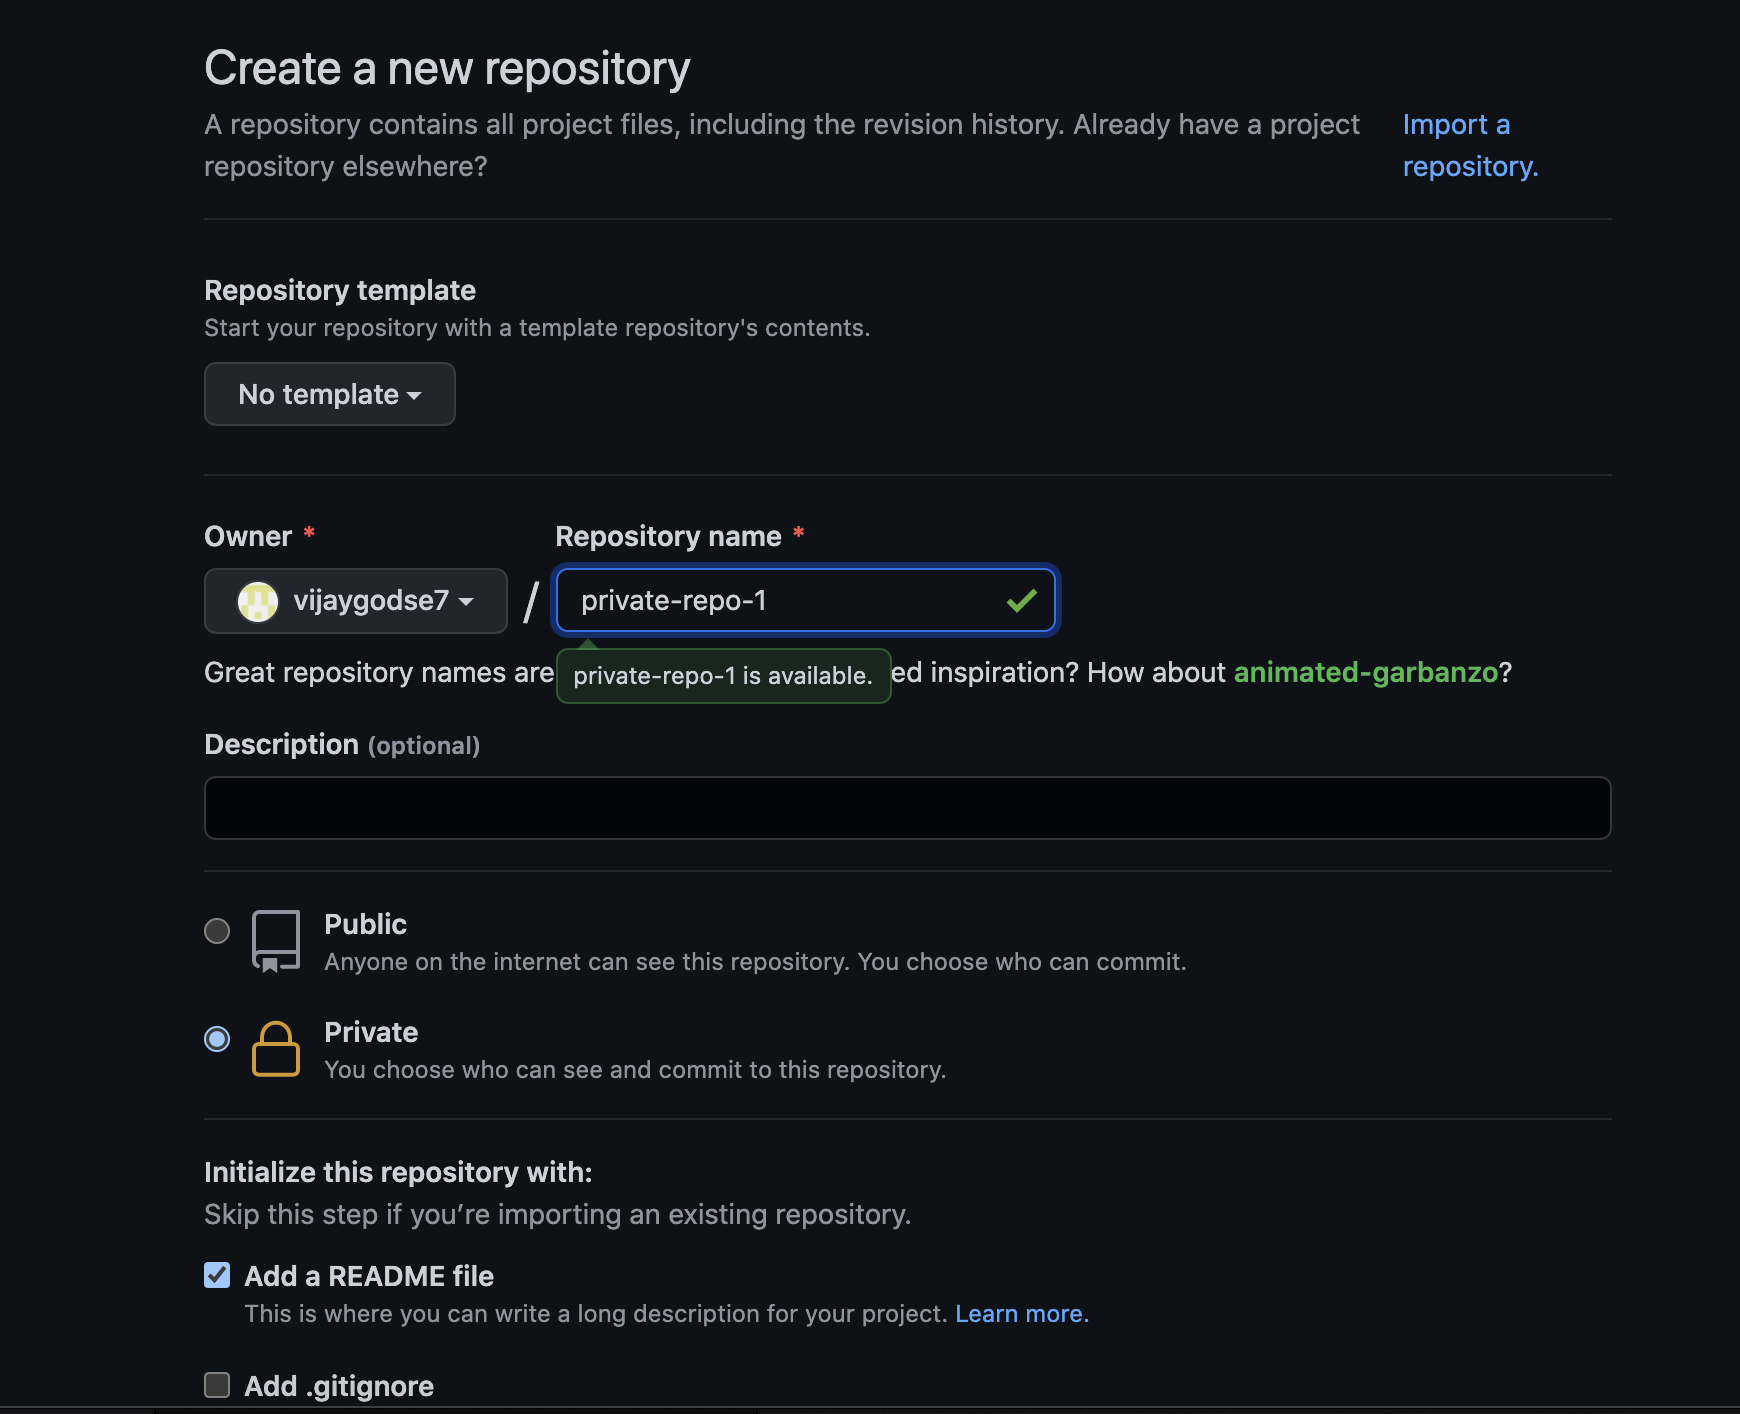
- Go to Github
- Create a new repo
- Select the private option and name your spec repository. In this case, we have created a repository named “private-repo-1″ in Github.)
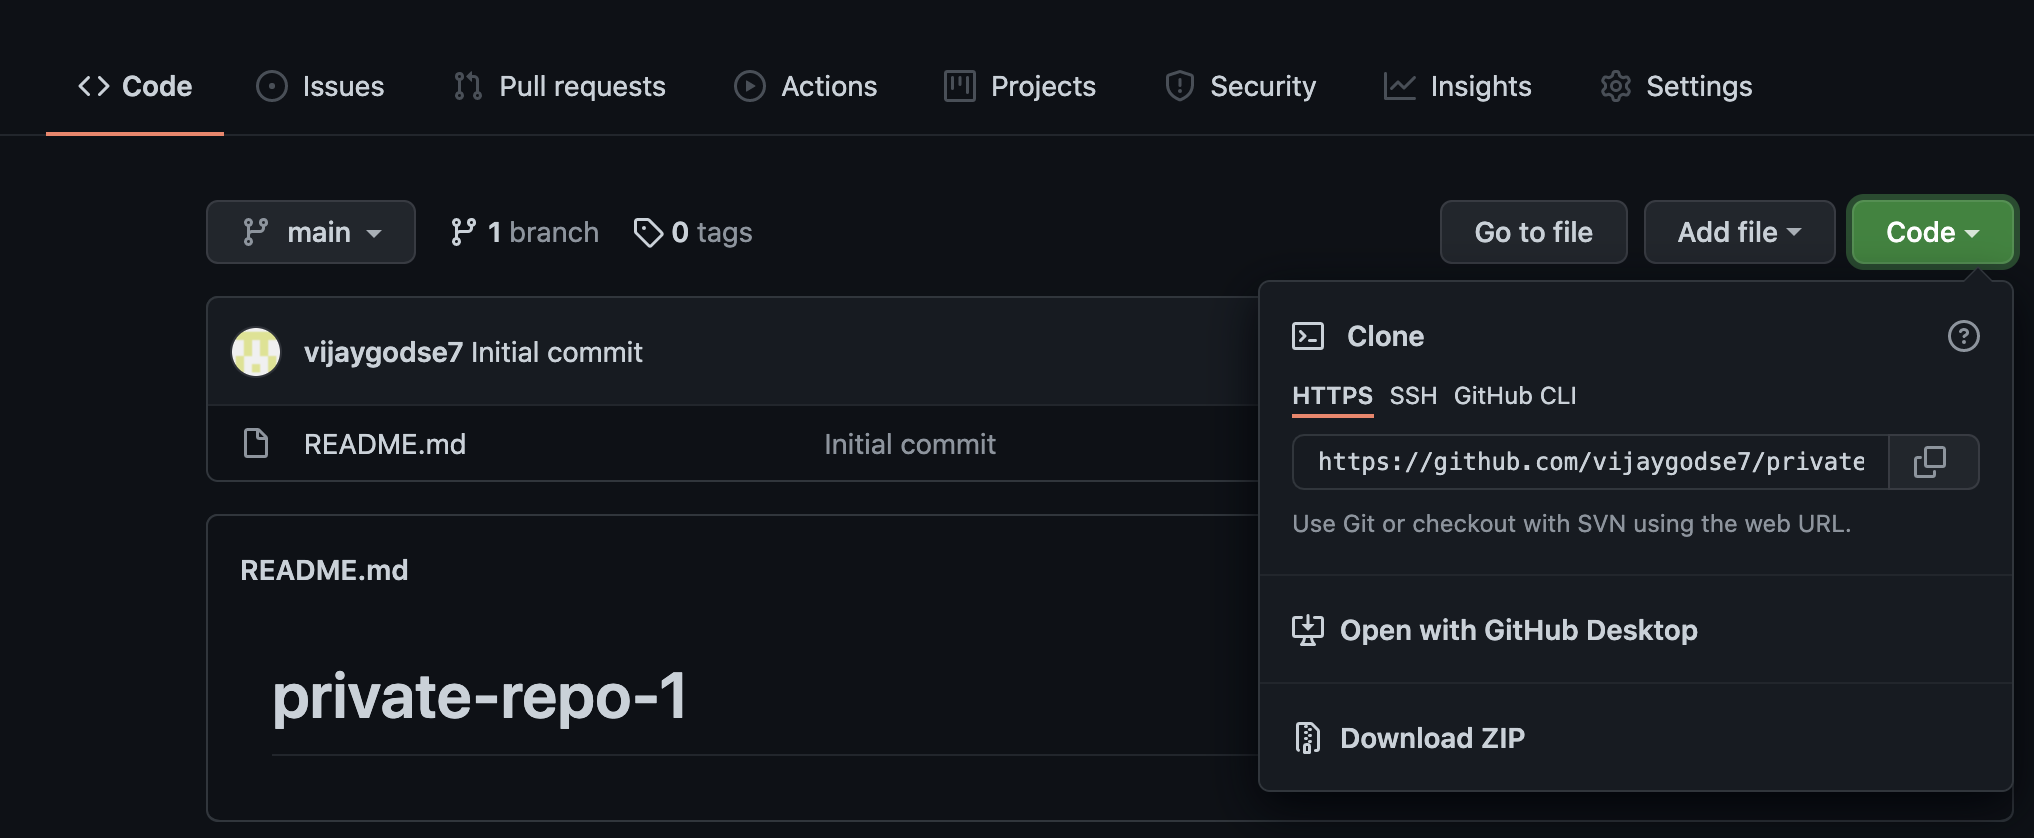
3. Clone the repository:
Click on the “Code” green button and copy the URL of the repository. Clone the repository with the above URL to Mac.
4. Create your private library
To create a private pod, run the below command on a terminal at your repository folder
$ pod lib create RandomNumberGenerator
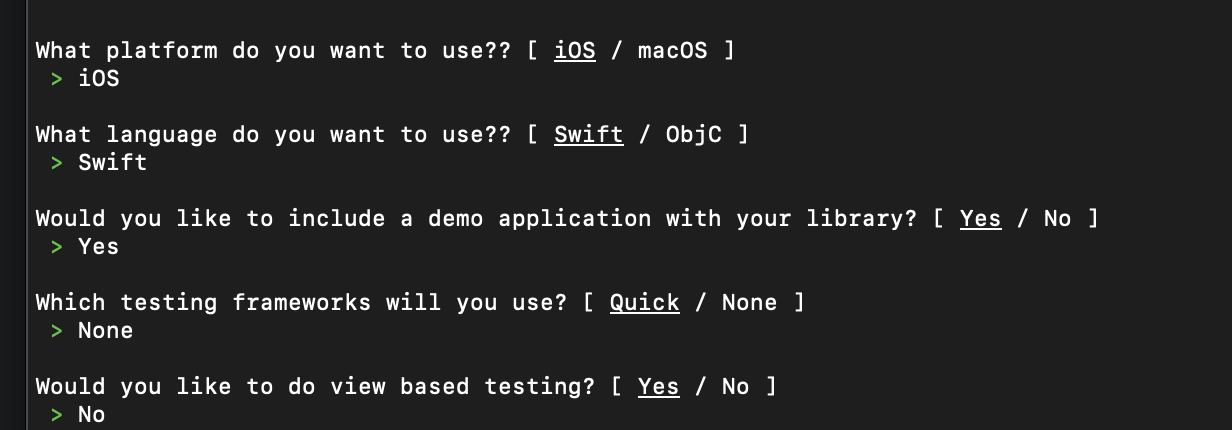
Once this command is entered, you will get asked a series of questions.
- When you’re asked what platform you want to use, answer iOS.
- When you’re asked what language you want to use, answer Swift.
- When asked if you’d like to include a demo application, answer Yes.
- When asked which testing framework to use, answer None
- Answer No to the prompt regarding view-based testing.
Example for reference
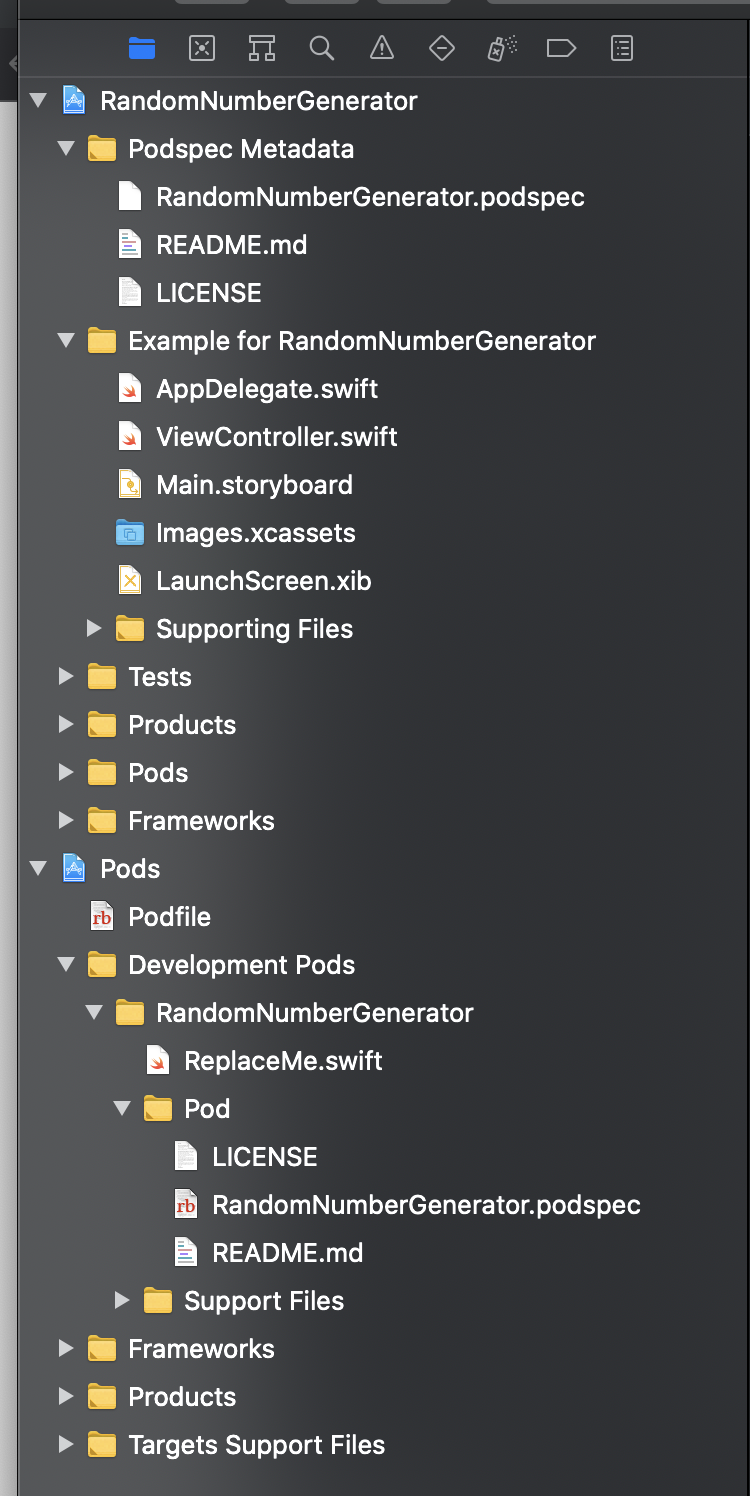
Once this is completed, Xcode should have already opened a new project ready for you to work on.
5. Add Functionality
You now have the basics of a pod, but it doesn’t contain anything yet.
Delete “ReplaceMe.swift” file and add a new file and write appropriate code inside it
6. Check pod spec file
Before committing changes we have to validate the pod spec file.
Enter the below command:
$ pod lib lint
You will get errors like below:
-> RandomNumberGenerator (0.1.0)

   - WARN  | summary: The summary is not meaningful.
   - WARN  | url: There was a problem validating the URL https://github.com/<GITHUB_USERNAME>/RandomNumberGenerator.

[!] RandomNumberGenerator did not pass validation

You can use the `--no-clean` option to inspect any issue.
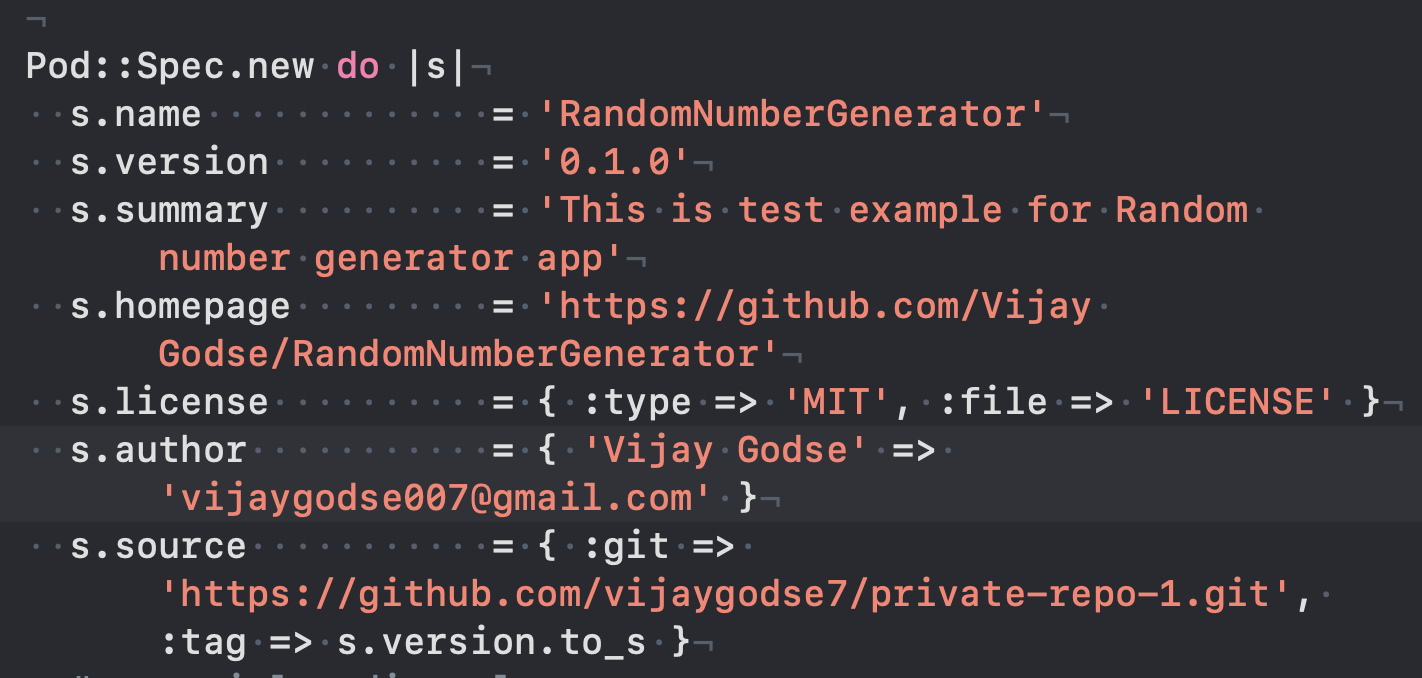
To fix this, we have to add more information to the summary and specify our git repo’s URL for the pod’s homepage.
7. Commit changes to Git
Run/Build app once. Once you get success, it’s time to push code.
You can use a terminal or any other tool (ex. SourceTree) to push code
Also, push the tag as 0.1.0
8. Install pod in your project
Now you should be able to install your library by editing your podfile, adding the source of your private repo at the top and the standard cocoapods.
For this, create an iOS application (example – PodTest1) using Xcode and open terminal at project path
Enter below command:
$ pod init
After it, you can see podfile is added to your project’s folder
Open the podfile and add our private pod as below:
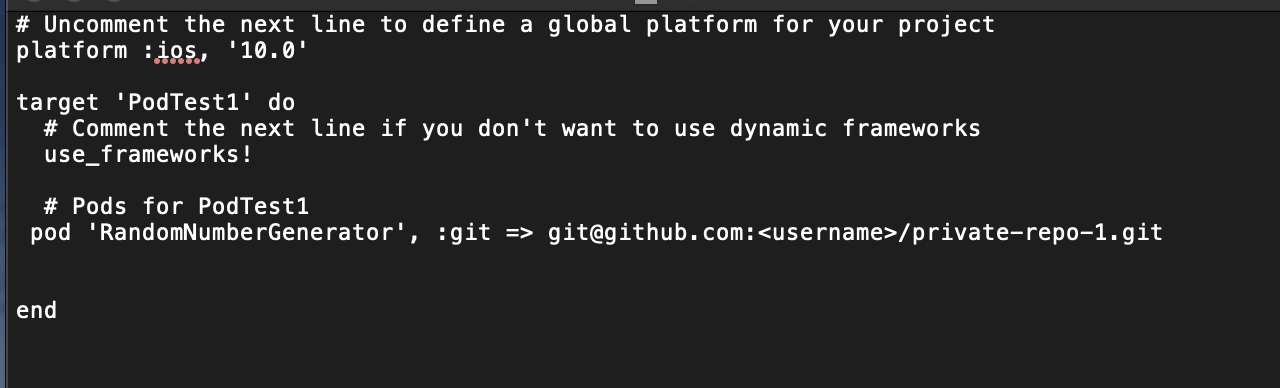
Save and close file.
Now run command:
$ pod install
Once installation completes, Double click on the Xcode workspace to open the project.
Now build and run it, you can able to access code from your private library in the application.
Isn’t is so easy? So, now you have created your first private pod and used in your application. You can now leverage the benefits of reusable code in your internal iOS projects using the power of private cocoapods.
Summary
With the steps detailed in this article, you should be able to use the CocoaPods tool to create your own private library of all your reusable code, as a private pod.
