
Robotframework Introduction:
- Robotframework base is python, and available free as it is open source and used for test automation.
- RobotFramework is a general framework for test automation for acceptance testing.
- Robotframework uses keyword-driven testing technique that employs tabular test data syntax.
- RobotFramework uses keywords that are readable by humans and syntax used is very simple to understand. Framework capabilities can be increased by libraries created in Java or Python.
- Libraries provide the true automation and testing capabilities to RobotFramework by providing keywords.
- Usage of robotframework, testers can perform Database testing, RPA, API automation, and Web automation testing.
Why use Robotframework?
- RobotFramework has a modular architecture that can be extended with bundled and custom test libraries
- RobotFramework is very easy to understand, and any newcomer can cope up very easily.
- Result reports created by robotframework are very easy to read and understand.
- Libraries can communicate directly with the system or use other testing tools such as drivers
Infrastructure setup for RobotFramework on Linux machine
- Install Python3 : https://www.python.org/ftp/python/3.8.10/Python-3.8.10.tar.xz
After downloading the above file, follow the below instructions to install Python.
- Run the following commands:
sudo apt update
sudo apt install -y build-essential- Go to the Downloads folder where we downloaded the file from the above link.
- Right click in the empty space and click “Open in Terminal”.
- In terminal type following commands:
tar -xf Python-3.8.10.tar.xz
cd Python-3.*
./configure
sudo make altinstall- Now verify the installation using the `python3 — — version` command.
- Install PIP, by running the given command in the terminal:
python3 -m pip install -U pip- Install robotframework, by running the given command in the terminal
pip install robotframework- Install Selenium2Library, by running the given command:
pip install robotframework-selenium2libraryOR
Install SeleniumLibrary, by running the given command:
pip install robotframework-seleniumlibraryPycharm Installation and Integration:
Installation:
- Download the community version of pycharm.
- On downloading the tar.gz file will get downloaded
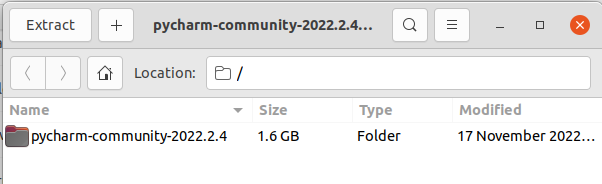
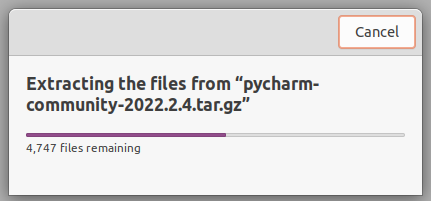
3. Extract the folder:
4. Extracted Folder
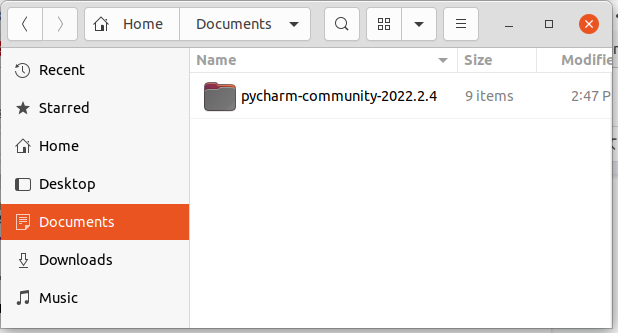
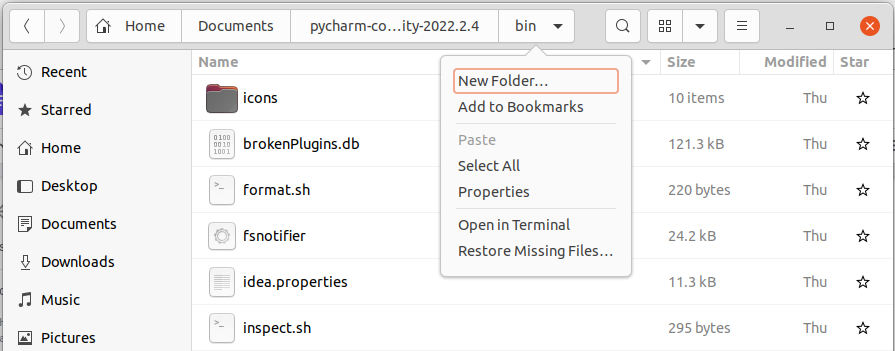
5. Now go to Home -> Documents -> pycharm-community-2022.2.4 -> bin and open the terminal window.
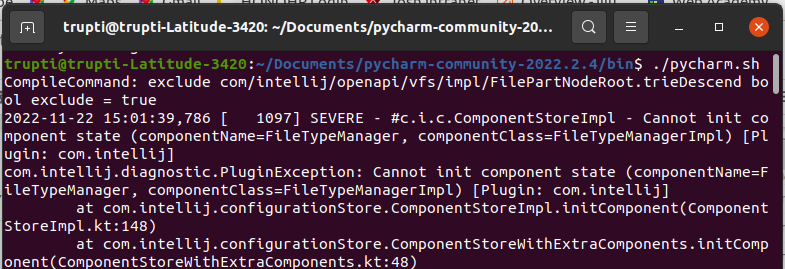
6. To start pycharm enter command “./pycharm.sh” into the terminal.
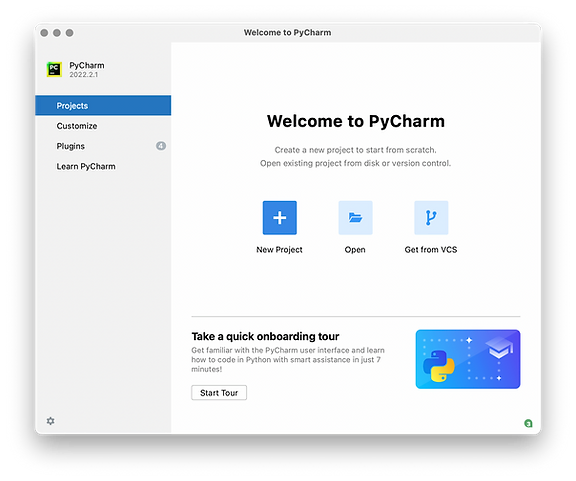
7. Pycharm is ready to use.
Integration:
- Click on New Project
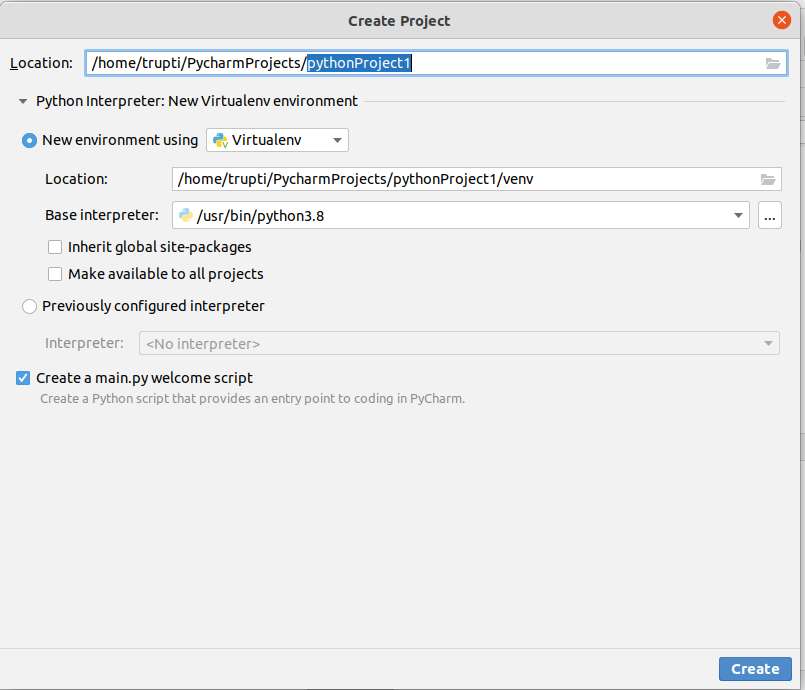
- In location, by default project name is set to pythonProject1, you can change it to your project name.
- In the base interpreter, select the latest python version.
- Click on the create button.
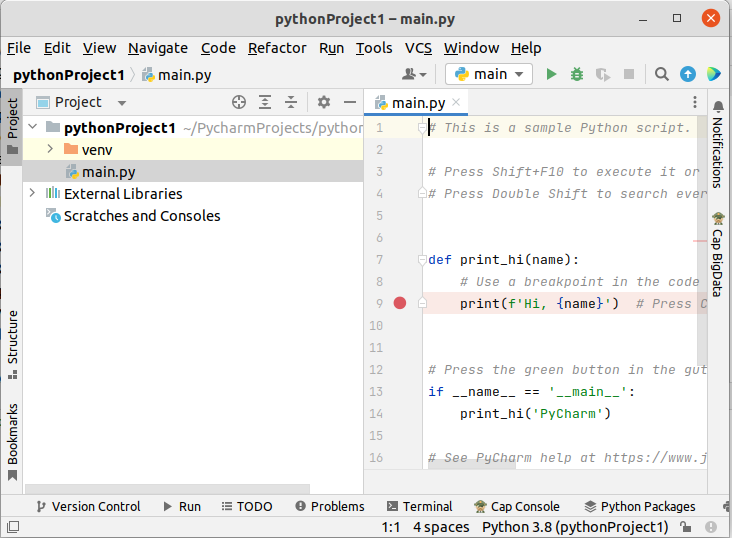
2. Project gets created.
3. Before running the project, Go to File -> Settings -> Click on your project -> Python interpreter.
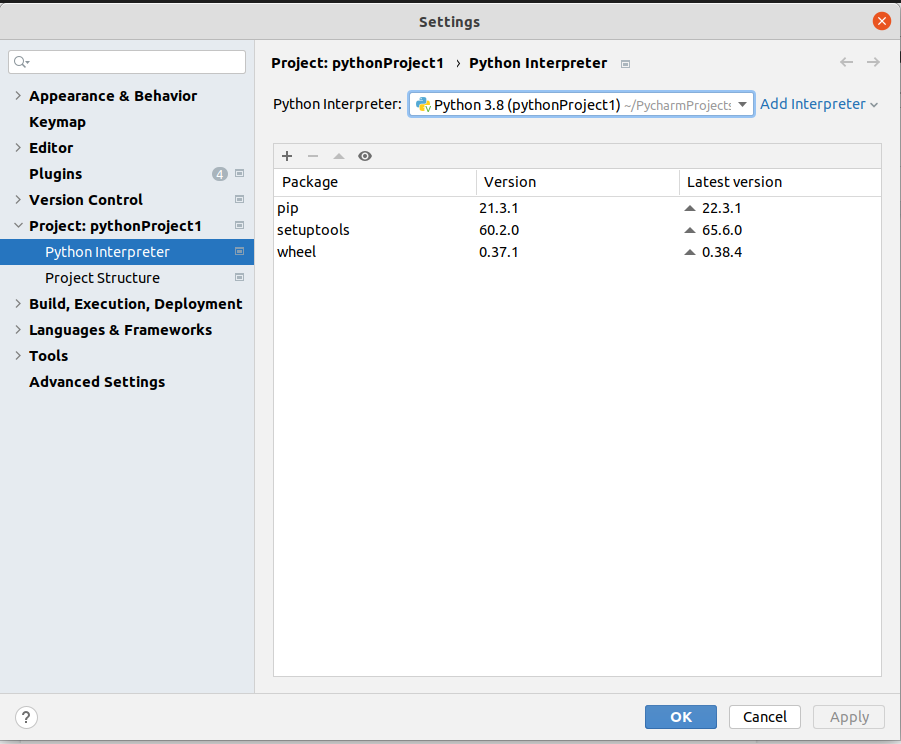
4. On the right hand side, if multiple interpreters are available, select the latest version interpreter.
5. Close the settings window.
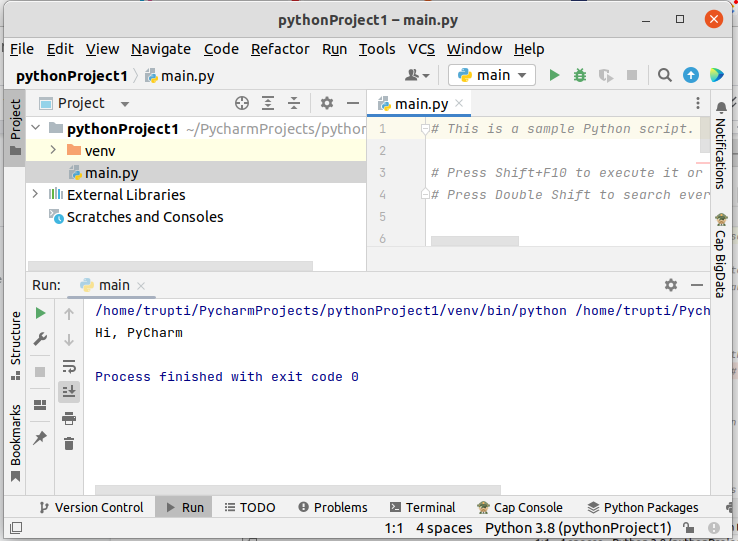
6. Now to test the setup, just click on the green arrow and check the console, if you get the required output.
7. Now again go to file -> settings -> project -> python interpreter.
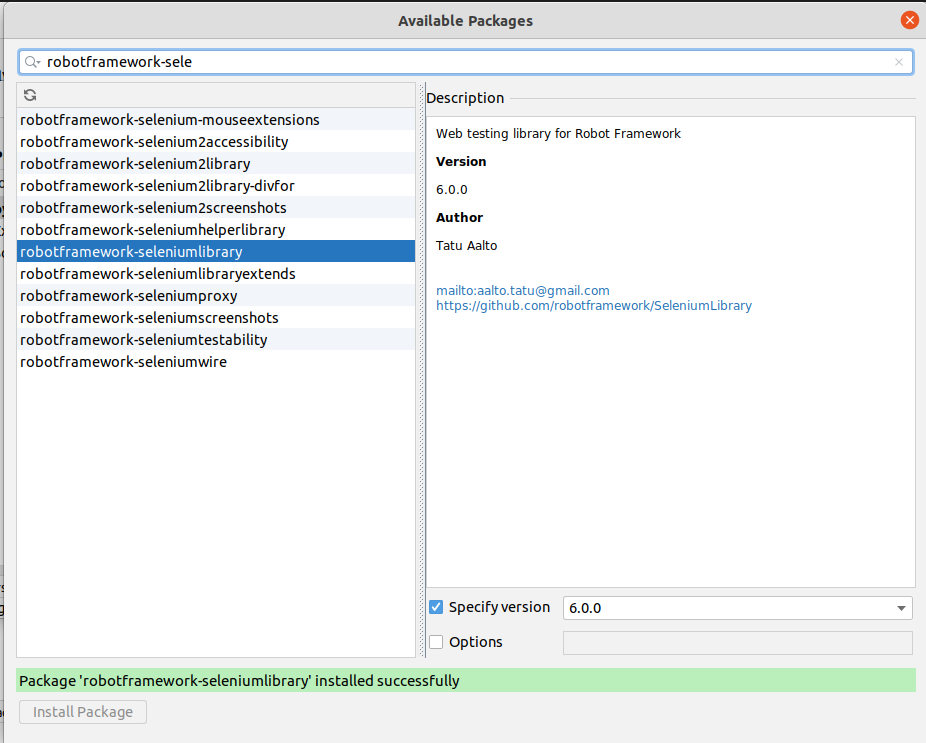
8. Now click on the plus ‘+’ icon, and search for “robotframework-selenium library” and install it. After successful installation, you will get a successful message in green as shown below.
9. Close the package window and then the settings window
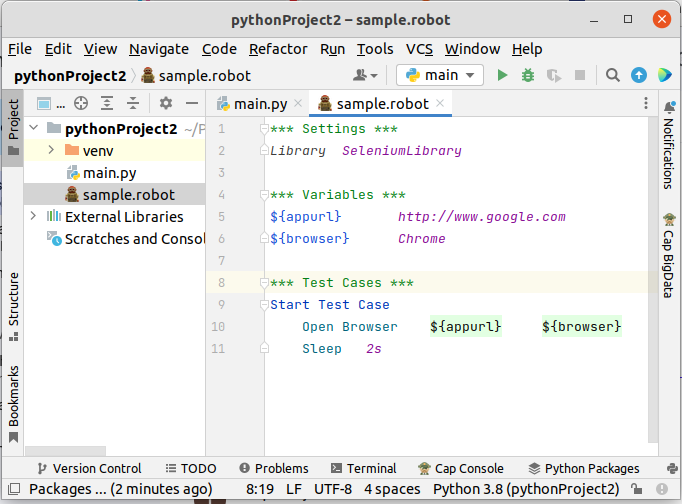
10. Now go to your project on the left and create file with the .robot extension, to cross check write a simple test case
11. Before running the file, you may need to install a web driver. Below are the steps to install a web driver:
- In your project go to terminal and run command:
pip install webdrivermanager- Now go to file -> you project -> python interpreter -> click on ‘+’ icon -> search for webdrivermanager -> install the package.
- Now in the terminal run the command:
webdrivermanager chrome firefox[Note: You can install the webdriver of all the browsers you want to run your test in.]
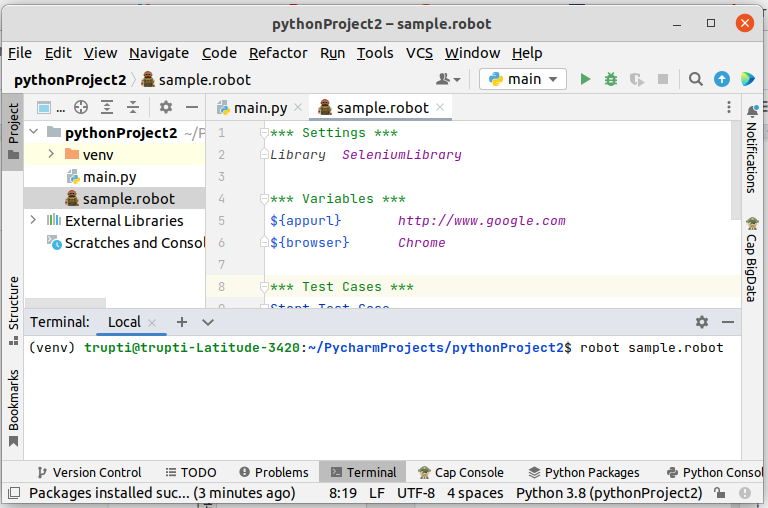
12. Now run the robot file in the terminal by command:
robot <filename>.robot
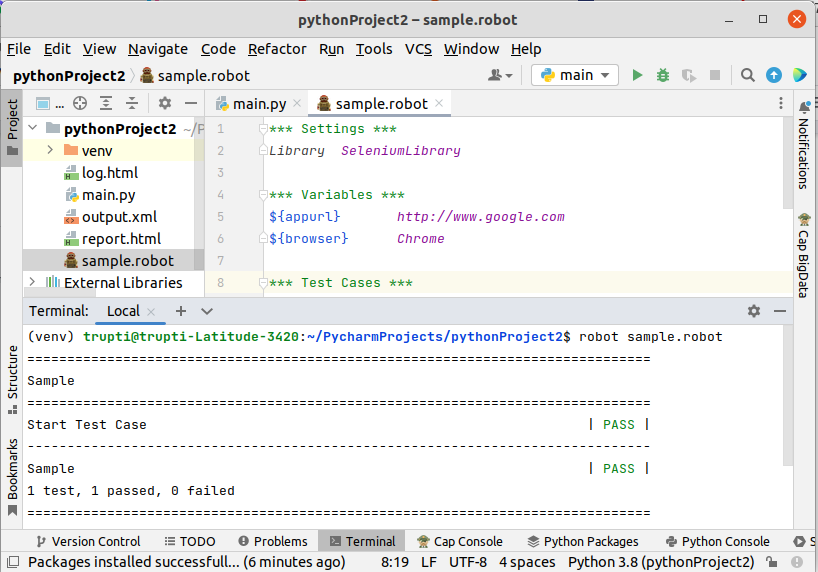
13. When your test case is in running state, the browser should open with google site. If test case gets executed successfully, in console you can see test result as pass
Summary:
In this blog, we learned how to set up robotframework as well as how to create and run test cases using robotframework with pycharm on Linux.
Hope this is helpful. Will add new findings as and when added.
If you enjoyed this article, Keep Sharing!!!
